How to Use Custom Pixel LED Effects with LedEdit 2014
Pixel LED strips and other leds are a popular way to add colorful and dynamic lighting to your space. With the Pixel LED Effects pack containing 1200 animations and effects in SWF, AVI, and MOV formats, you can easily add custom effects to your LED strips. In this tutorial, we will show you how to use the Pixel LED Effects pack with LedEdit 2014.
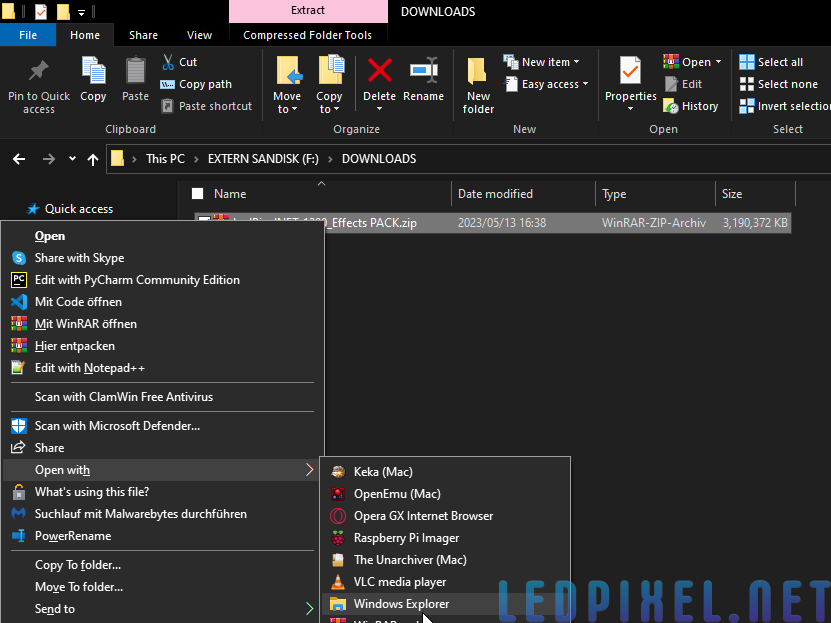
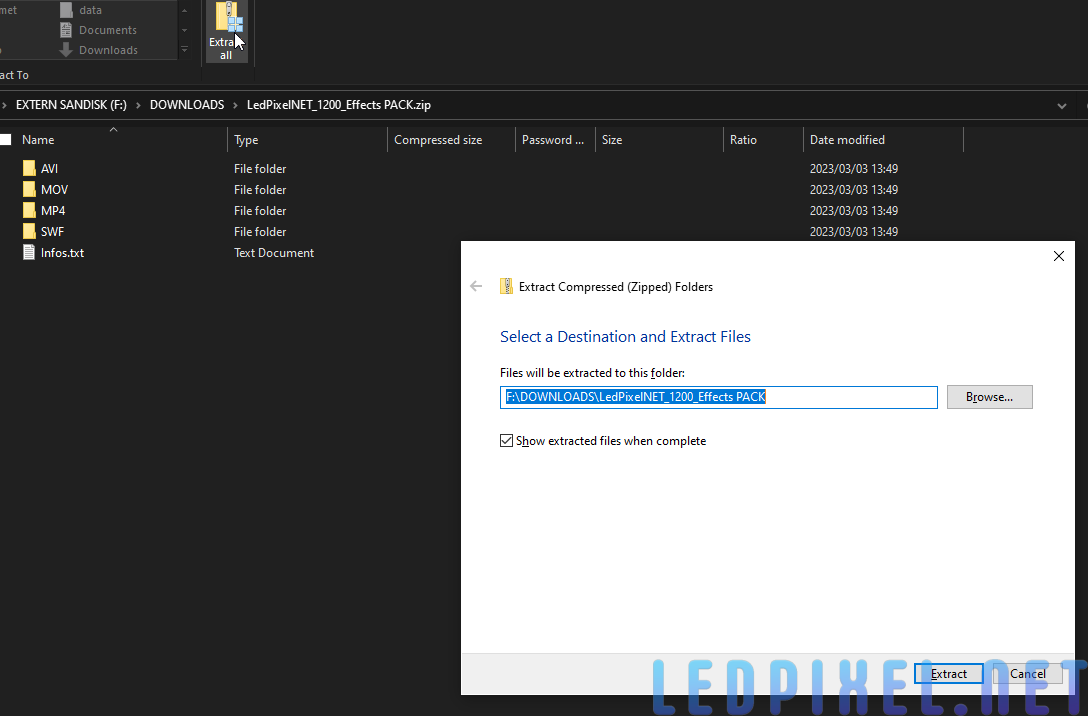
Step 1: Extract the Pixel LED Effects Pack
The first step is to download the Pixel LED Effects pack and extract it using any compression software like Winrar, 7zip, or Windows Explorer. Once you have extracted the files, you will see several folders containing SWF, AVI, and MOV files. You can choose any effects from these folders.
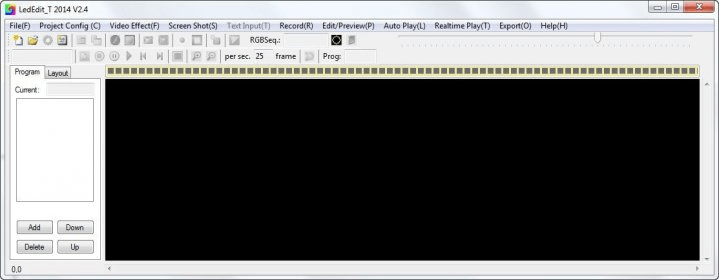
Step 2: Start a New LedEdit Project
Next, open LedEdit 2014 and start a new project. If you haven’t installed LedEdit 2014 yet, you can download it from the official website of LedEdit. Once you have opened the software, click on the “File” menu and select “New Project.”
Remember to create your led layout connection!
Step 3: Load the Effect
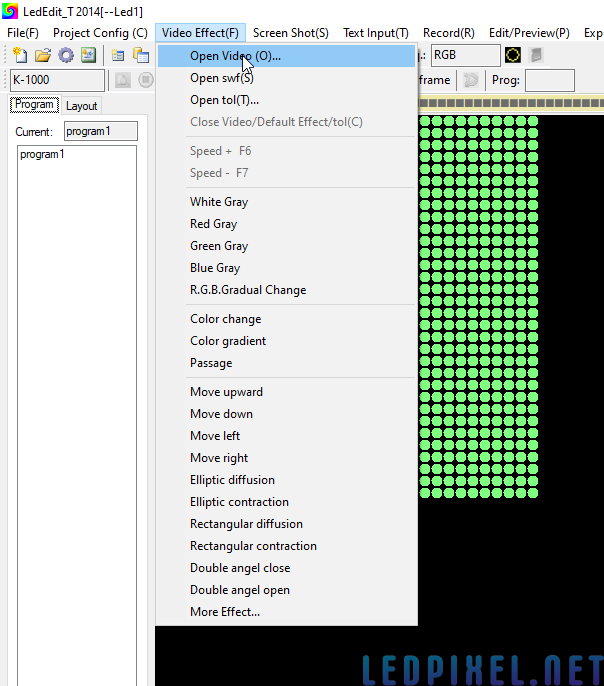
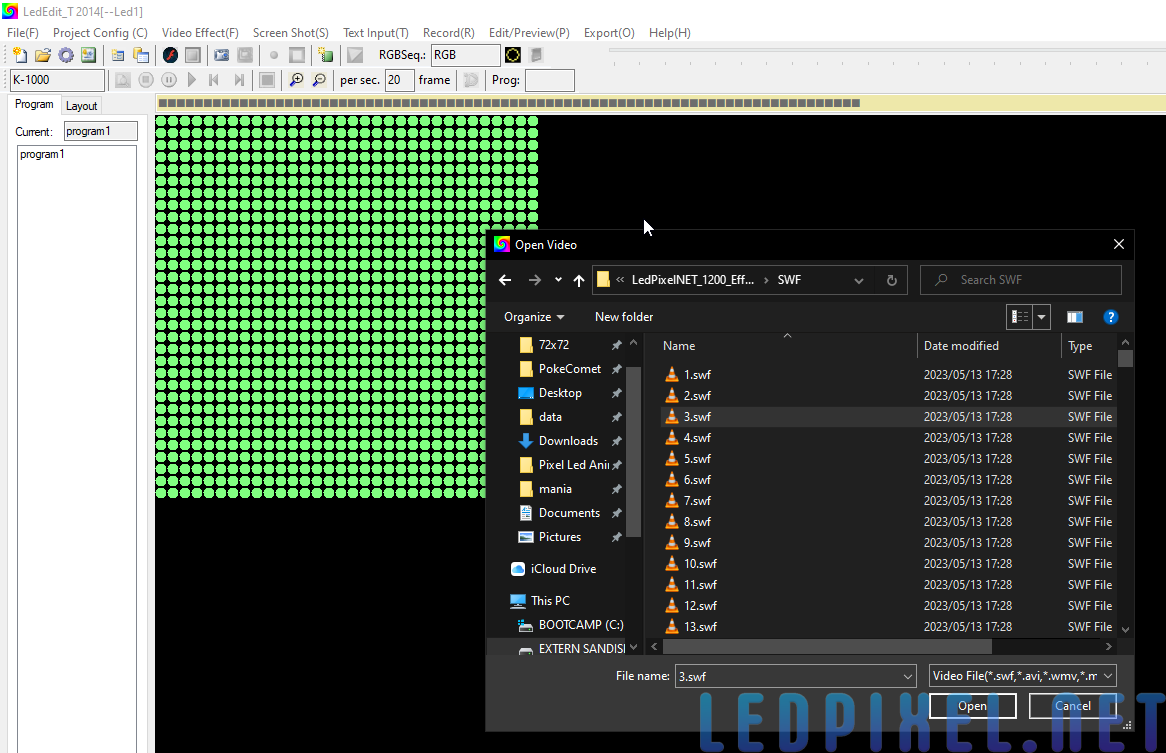
To load the Pixel LED effect, click on the “Open Video” button in the toolbar. Navigate to the folder where you have extracted the Pixel LED Effects pack and select the desired effect from the SWF, AVI, or MOV folders. Once you have selected the effect, click on the “Open” button to load it into LedEdit.
Step 4: Record the Effect
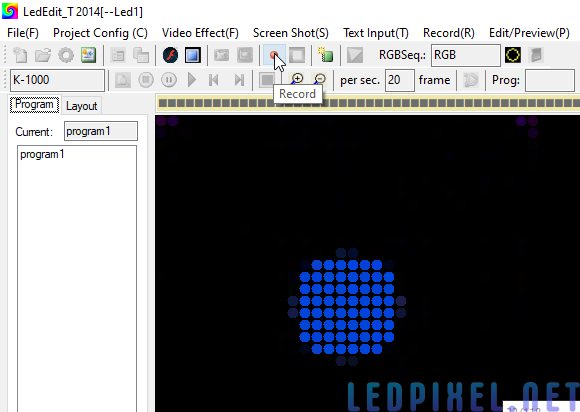
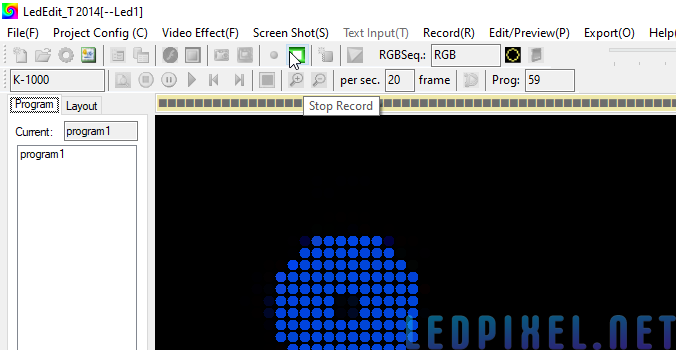
Once you have loaded the effect, you can preview it by clicking on the “Play” button in the toolbar. If you are satisfied with the effect, you can record it by clicking on the “Record” button. Set the effect and click on the “Record” button again to start recording and “Stop” button to stop recording.
Step 5: Export the Project
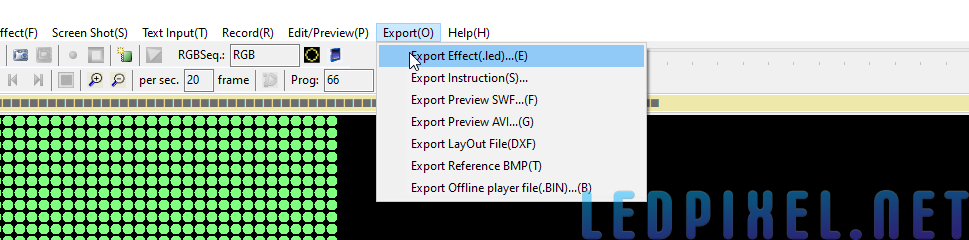
After recording the effect, you need to export the project as a .led file. Click on the “Export” button in the toolbar and select “Export LED File.” Choose a location to save the .led file and click on the “Save” button. This file can be copied to an SD card for use with a controller.
Step 6: Copy .led File to SD Card and Connect to Controller
Insert an SD card into your computer and copy the .led file to the root directory of the SD card. Make sure the SD card is compatible with your controller. Once you have copied the file, insert the SD card into the controller and power it on. The LED strip should display the custom effect you have created.
In conclusion, using custom Pixel LED effects with LedEdit 2014 is an easy process. By following the steps outlined in this tutorial, you can add dynamic and colorful lighting effects to your space.